Installing Selenium on MacOS: A Step-by-Step Guide

Introduction
In this comprehensive guide, we will explore the step-by-step process of installing Selenium on MacOS, enabling you to harness the power of this versatile tool for web browser automation.
Selenium is a widely-used package in the Python programming language that allows developers to automate web browser interactions seamlessly. By leveraging the capabilities of Selenium, one can efficiently perform tasks such as web scraping, browser testing, and automating repetitive actions, ultimately streamlining the overall development process.
Supported programming languages
Selenium supports be installed for several programming languages with what they call WebDrivers:
After a fresh Xcode installation, add command line tools by executing
xcode-select --installin the terminal to enable seamless web browser automation using Python's Selenium package.
For installing Selenium for Python we are gonna need some prerequisites:
Install Homebrew a package manager for macOS
Install Python programming language, we'll benefit from its
pip package installer
brew install python3

# then make sure you have the latest version of pip
pip install --upgrade pip
- Install Selenium
pip install selenium
It is straightforward, just install it from your preferred registry package manager:
npm install selenium-webdriver

# package.json dependency array
"selenium-webdriver": "^4.9.0"
gem install selenium-webdriver

# add to project gemfile
gem 'selenium-webdriver', '= 4.9.0'
Install-Package Selenium.WebDriver

# .NET CLI
dotnet add package Selenium.WebDriver

# Reference it
<PackageReference Include="Selenium.WebDriver" Version="4.9.0" />
Bonus
- Example with Node
Let's install a couple of libraries from npm:
npm install selenium-webdriver
npm install chromedriver
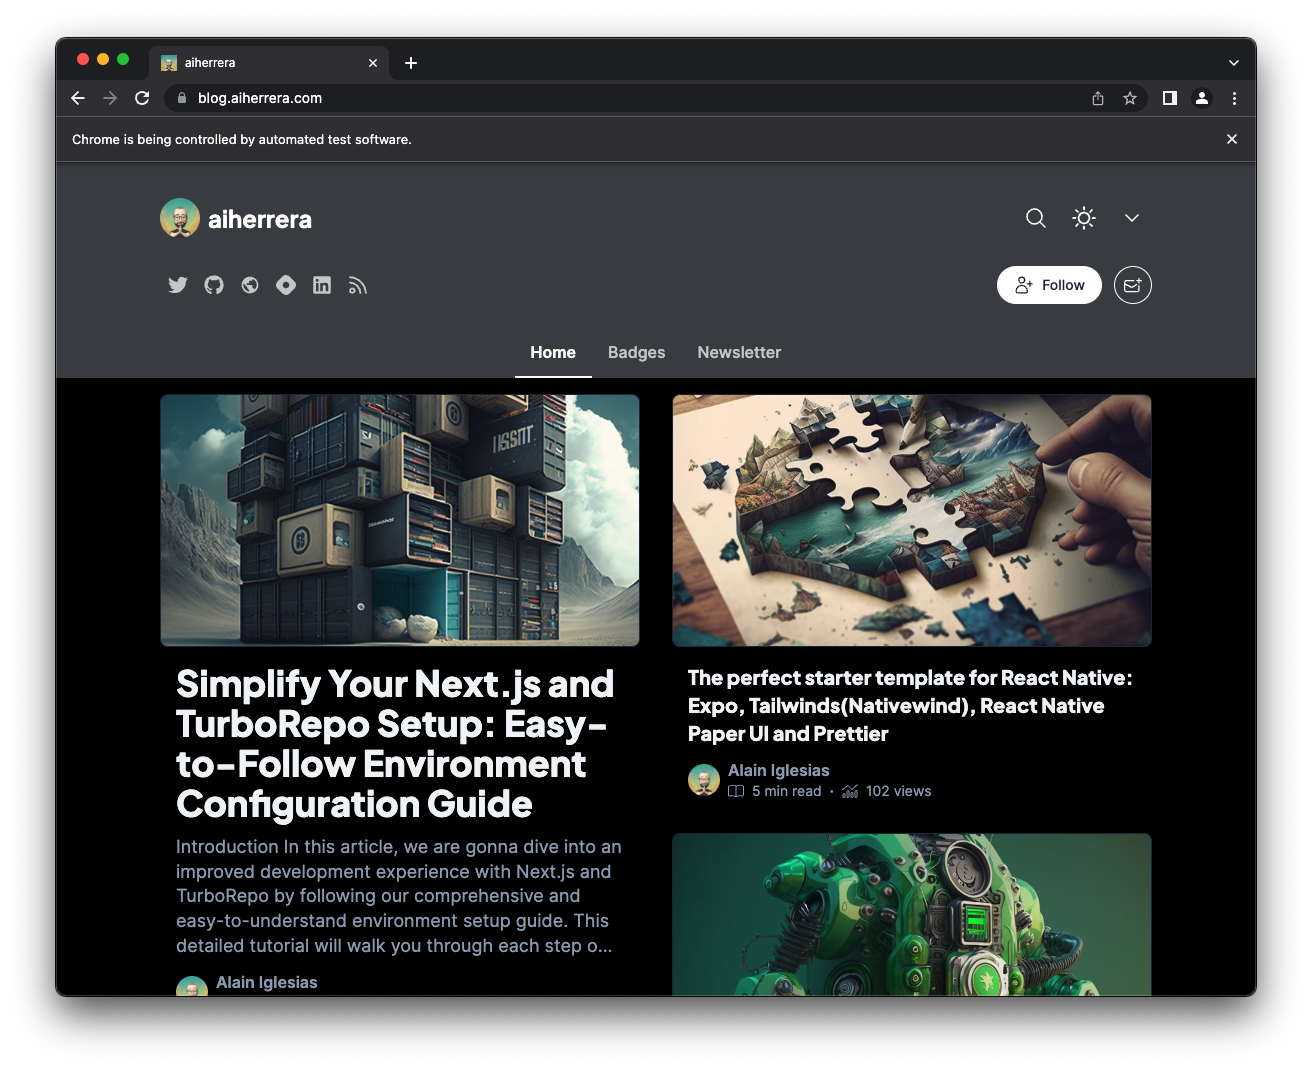
This code snipped will open a Chrome window and redirect to the website you set in the driver.get function:
const { Builder } = require('selenium-webdriver');
require("chromedriver");

(async function helloSelenium() {
    let driver = await new Builder().forBrowser('chrome').build();

    await driver.get('https://blog.aiherrera.com');
})();
and also you'll notice a message telling you that: Chrome is being controlled by automated test software.
- Extensions
There are also extensions for some of the most popular browsers that are called IDE as stated on Selenium's website:
Selenium IDE is a Chrome, Firefox and Edge plugin which records and plays back user interactions with the browser. Use this to either create simple scripts or assist in exploratory testing.
Thank you for reading! Any constructive feedback is greatly appreciated!
About the author
- I’m a software engineer, product builder, and founder of Lynsoft with more than 15 years of experience creating custom digital products. I work across frontend architecture, backend systems, SaaS platforms, integrations, automation, and applied AI. On this blog, I share practical lessons from building real products, making technical decisions, scaling software, and turning complex business problems into reliable systems.
Comments
Join the discussionNo comments yet. Be the first to comment.
How to on macOS
In this series, I'll be covering how to overcome obstacles we encounter on a daily basis while working with macOS systems.


