Introduction
Recently, I've seen many people asking how to move their PostgreSQL database to Supabase. They want a clear guide to help them switch without losing data or causing too much downtime. The process is straightforward, let me show you!
Prerequisites
A local/remote PostgreSQL database you wanna migrate to Supabase.
A Supabase account (you can sign up for free).
Basic knowledge of PostgreSQL commands.
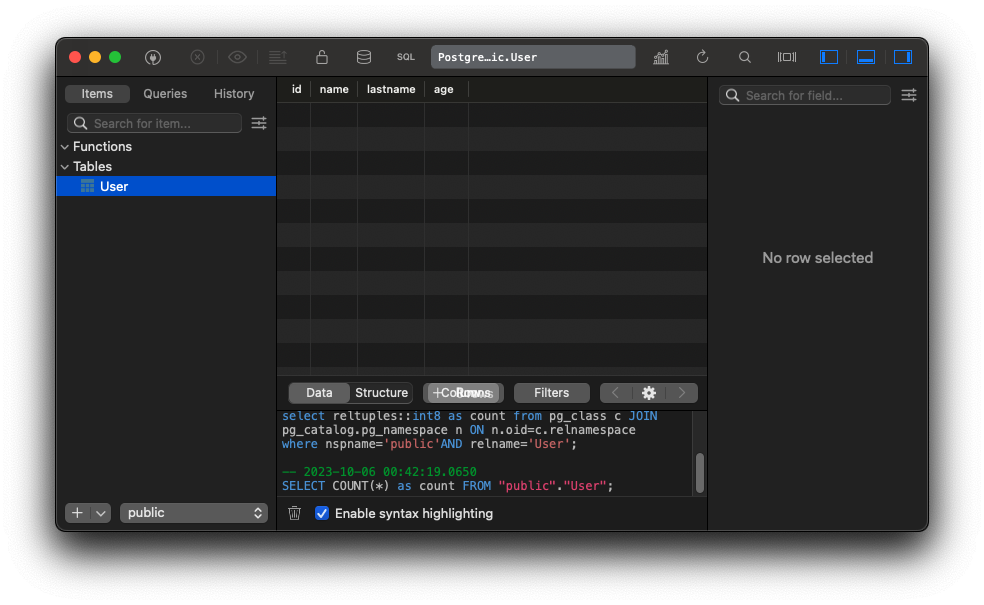
For this example, I have created a table called User with the fields: id, name, lastname and age, really simple, just for demonstration purposes:
Step-by-Step Guide to Migrating Your Database
Backup Your Local Database
Before making any changes, it's crucial to back up your local database to prevent any data loss.
Use the pg_dump command:
pg_dump 'postgres://{user}:{password}@{hostname}:{port}/{database-name}' > database_dump.dump
Replace the placeholders with your local database details.
Alternatively, you can use any app that allows you to manage databases like TablePlus, which is the one I'll be using in this example:

As you can see I have two connections one pointing to my local database and another to the Supabase remote connection. To create a dump just click on the Backup option, select the local connection, and the database name and click the Start backup button as shown in the picture:
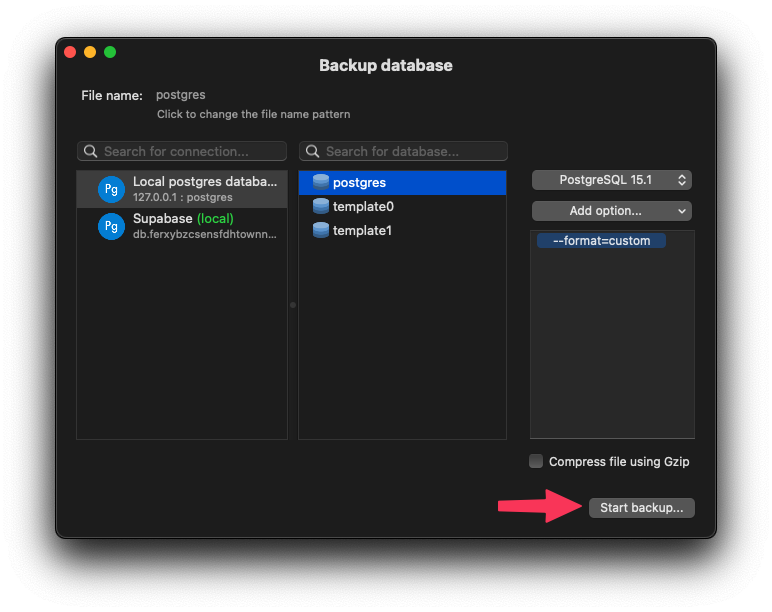
This will ask you to save a .dump file.
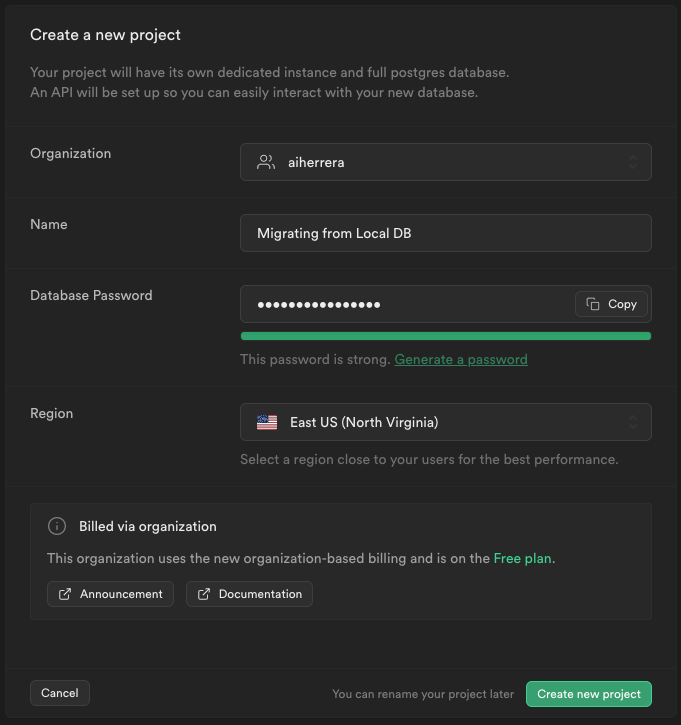
Create a New Supabase Project
The next step would be the Backup importation. For this, we'll need to have a Supabase account created, if you already have one:
If you're having trouble with it, I have a Supabase starter guide that will assist you in completing the task.
Restore the Backup to Supabase
Now, you'll upload the backup to Supabase.
Use the pg_restore command:
pg_restore -d 'postgres://{user}:{password}@{hostname}:{port}/{database-name}' database_dump.dump
Replace the placeholders with the details provided by Supabase for your project and the path to your backup file.
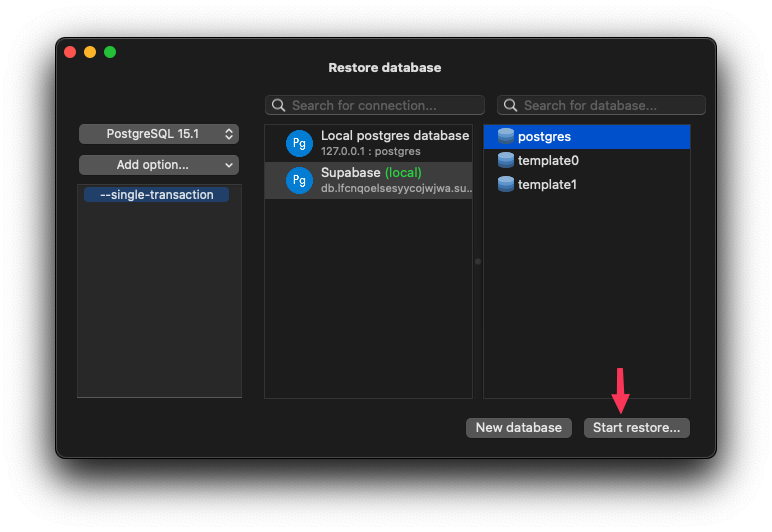
Again, you can achieve this with TablePlus easily and the steps are mostly identical to the dump process. This time click on the Restore option, select the previously created Supabase connection, and the database name and click the Start restore button as shown in the picture:
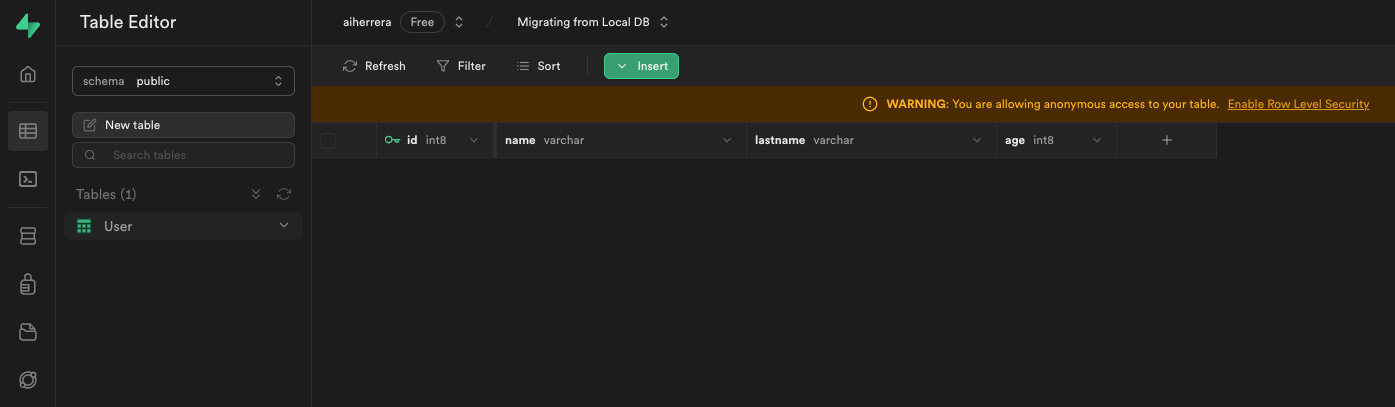
Verify the Migration
After the restoration process, navigate to the Table section in your Supabase dashboard. You'll see there all the tables of your database.
💡
Pro Tip: Browse through the tables to ensure that the data matches your local database. I have only one table due to the demonstration, but you should ensure that all tables and relations between them as well as the data are consistent against your old database.
Adjust Settings & Permissions
Supabase provides a robust role-based permission system as you could see in the previous step. Make sure you set the correct permissions to each table in your database, it will make it more secure

Update Your Application's Connection Strings
If you have an application using the database:
Conclusion
That's it!
Migrating your local PostgreSQL database to Supabase is a straightforward process that can offer numerous benefits, including scalability, real-time capabilities, and a user-friendly interface. By following the steps outlined in this article, you can smoothly transition your database to the cloud and leverage the power of Supabase for your projects.
💡
Pro Tip:
Always ensure you have backups of your data before performing any migrations. If you encounter any issues, the Supabase documentation and community are excellent resources for assistance.