Introduction
Supabase is an open-source alternative to Firebase that provides authentication, real-time databases, storage, and more through a PostgreSQL database. Setting up a local development environment allows you to build and test Supabase apps on your machine before deploying to production. In this post, we'll walk through the steps to get a local Supabase environment running on your computer.
If you are new to Supabase, check out these other posts about it:
Getting Started with Supabase: A Comprehensive Guide for Developers
Unleash the power of automation by scheduling Supabase Edge Functions
😎 As stated on their website, there are several benefits to being able to accomplish this:
🚀 Faster Development: Developing locally allows you to work without any network latency or internet disruptions.
💬 Easier Collaboration: Developing locally can make it easier to collaborate with others on the same project.
🤑 Cost-Effective: Supabase provides a generous free plan and gives you two free projects to get started. But what if you need more than two? When you develop locally, you can spin up unlimited local projects and link them with live projects when you're ready to launch.
🛠️ Configuration in code: If you directly change your tables via the Dashboard, none of that gets captured in code. If you follow these local development practices, you'll store all of your table schemas in code.
🚂 Work offline: Need to work from a train? A plane? An automobile? No problem. Developing your project locally allows you to work offline.
Prerequisites
To set up a Supabase local environment, you will need to have some tools installed beforehand:
These tools allow us to easily spin up the PostgreSQL database and other services needed for Supabase.
Installing Supabase CLI
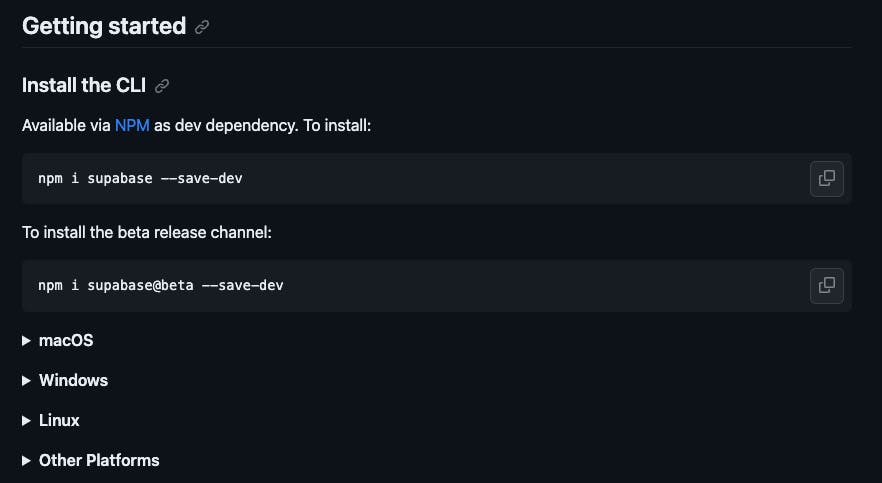
The next step would be installing Supabase CLI to have access to a sort of useful commands, in my case I'll be installing it on a Mac but it can be installed pretty much on every platform:
brew install supabase/tap/supabase

Setting up a project
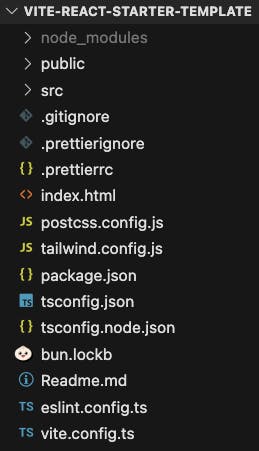
Now let's create a project using this Vite template for a quick-started POC project that I shared in this post.
Then let's clone the just-created project:
git clone https://github.com/aiherrera/whatever-name-you-choose
You should get something like this:

git initNow, initialize Supabase to set up the configuration for developing your project locally, on the root of your project folder run:
supabase init
Generate VS Code workspace settings? [y/N] N
Finished supabase init.
Then run the start command: the start command uses Docker to start the Supabase services:
PostgreSQL (Database): PostgreSQL is the core of Supabase. It provides tools that make PostgreSQL as easy to use as Firebase.
Studio (Dashboard): An open source Dashboard for managing your database and services.
GoTrue (Auth): A JWT-based API for managing users and issuing access tokens. This integrates with PostgreSQL's Row Level Security and the API servers.
PostgREST (API): A standalone web server that turns your PostgreSQL database directly into a RESTful API.
Realtime (API & multiplayer): A scalable WebSocket engine for managing user Presence, broadcasting messages, and streaming database changes.
Storage API (large file storage): An S3-compatible object storage service that stores metadata in Postgres.
Deno (Edge Functions): A modern runtime for JavaScript and TypeScript.
postgres-meta (Database management): A RESTful API for managing your Postgres. Fetch tables, add roles, and run queries.
PgBouncer: A lightweight connection pooler for PostgreSQL. This is useful for connecting to Postgres when using Serverless functions.
Kong (API Gateway): A cloud-native API gateway, built on top of Nginx.
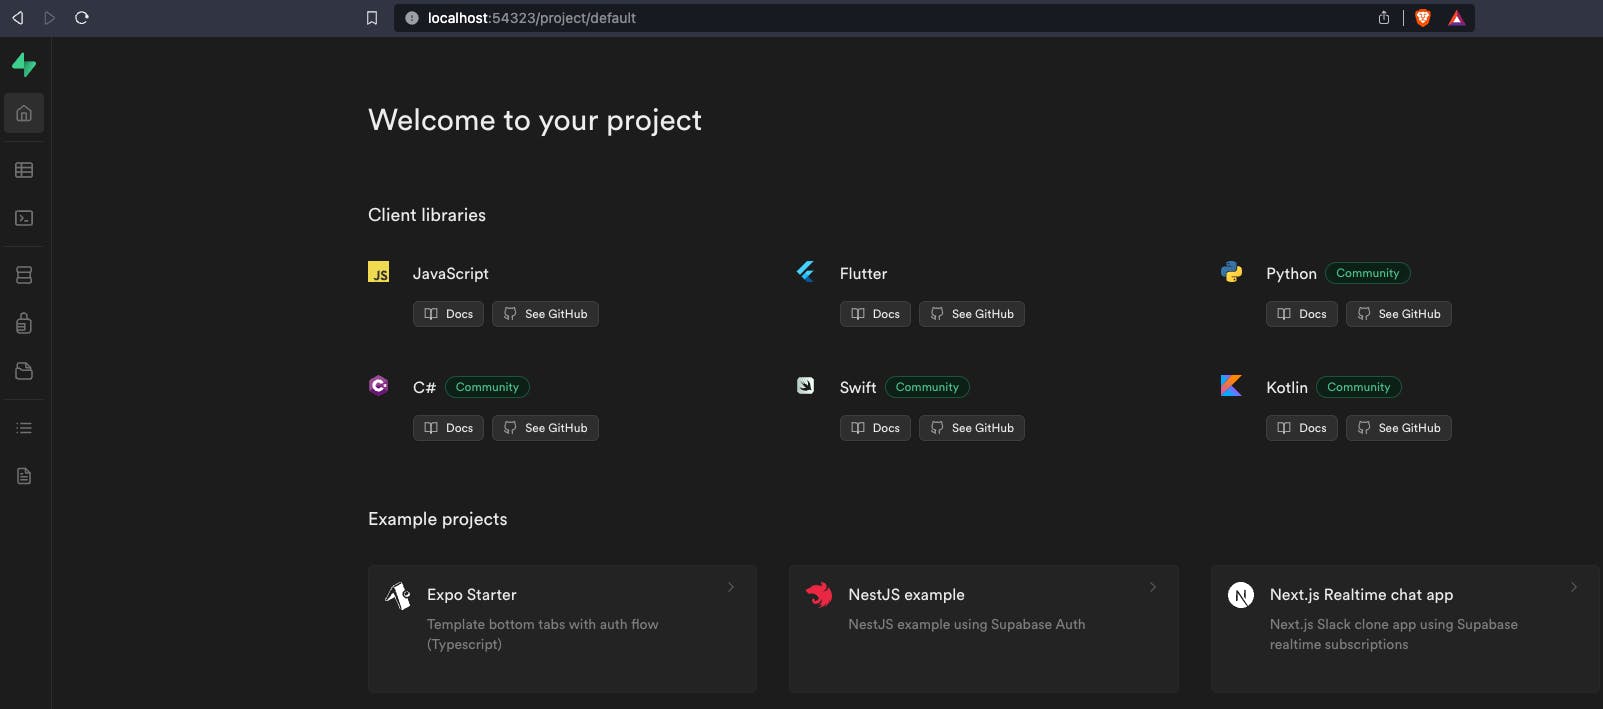
Once finished pulling all images and setting up the environment you'll get all the local endpoints and secret keys to access Supabase Local.
supabase start
Seeding data supabase/seed.sql...
Started supabase local development setup.

         API URL: http://localhost:54321
     GraphQL URL: http://localhost:54321/graphql/v1
          DB URL: postgresql://postgres:postgres@localhost:54322/postgres
      Studio URL: http://localhost:54323
    Inbucket URL: http://localhost:54324
      JWT secret: super-secret-jwt-token-with-at-least-32-characters-long
        anon key: eyJhbG...
service_role key: eyJhbG...
You can stop the Docker instance anytime by running this command:
supabase db stop
And can reset the database to its initial state by running:
supabase db reset
Publishing changes to Supabase
Once you have more certainty about the shape of a more mature project, you can publish your local changes to your live instance of Supabase. This command will sync your database structure and data within the live one.
supabase db push
Final thoughts
Upon successful completion of the setup process, you now have a fully operational instance of Supabase running locally on your machine. This local deployment offers several significant advantages that can enhance your overall development experience.

First and foremost, by hosting Supabase locally, you can effectively reduce costs associated with cloud-based services. This cost-effective solution allows you to allocate resources more efficiently, ultimately saving you money in the long run.
Secondly, the local instance enables you to work offline, providing you with the flexibility to develop and test your applications even in the absence of an internet connection. This feature is particularly useful for developers who may find themselves in remote locations or areas with limited connectivity.
Lastly, the local Supabase instance ensures a high-speed development experience, as it eliminates any connection constraints that may arise from using a remote server. This results in a more seamless and efficient workflow, allowing you to focus on building and refining your applications without any unnecessary delays or interruptions.

